One term that we keep on bumping into when looking for a scope is “Parallax Adjustment.” Not sure why it’s helpful or if you need it? This article will help you decide if you really need a scope with this feature. And if you do, we’ll show you how to make rifle scope parallax adjustments.
What is Rifle Scope Parallax?
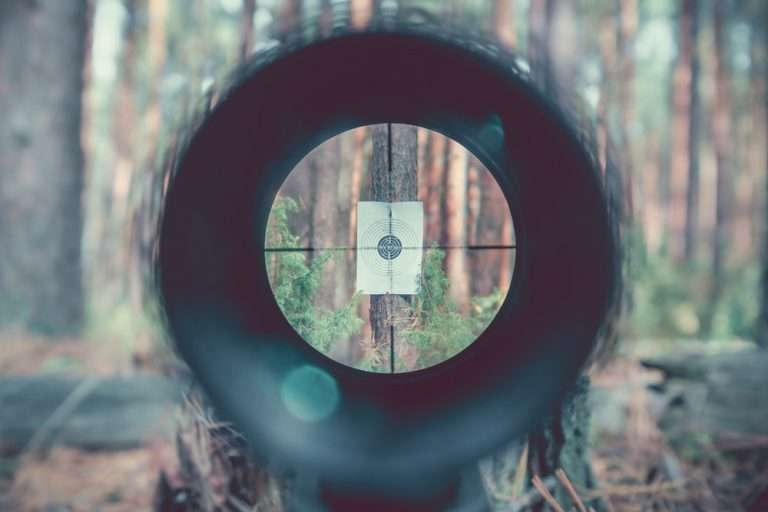
Scope parallax is the movement of the reticle’s crosshairs relative to the target every time your eyes or your head move. It happens when the reticle and the target are on different focal planes.
What is a Parallax-Free Scope?
A parallax-free scope has its reticle automatically set and is always focused on the target no matter how much movement you make and no matter how much you zoom in or out. If advertised as parallax-free, normally there are limitations such as “beyond 50 yds” that are there if you read the fine print.
Why is Parallax Adjustment Important?
Parallax adjustment is important because it increases accuracy, especially when using high magnification settings on your scope. Parallax adjustment eliminates having to do precise positioning of your rifle after taking every shot.
Imagine trying to guarantee that when you see a trophy animal and throw up your rifle in a split second that your eye is perfectly centered in the middle of the scope!
It’s just not going to happen, and that could be the difference between going away empty-handed and getting the animal you’ve worked so hard for. Or even worse, you may wound and not recover a trophy.
However, there are also disadvantages to having a scope with adjustable parallax. The first one is the cost. Riflescopes with parallax adjustments cost more and weigh more than those without this feature.
When Do You Need a Rifle Scope with Parallax Adjustment?
Parallax only becomes noticeable when shooting at extreme distances. So if you’ll be shooting at 75 to 250 yards, the possibility of having parallax issues is very minimal. However, if you’re planning to shoot more than 250 yards or at close range with a scope that’s designed for longer engagements, it’s best to get a scope that can correct parallax.
Parallax at Long Distance
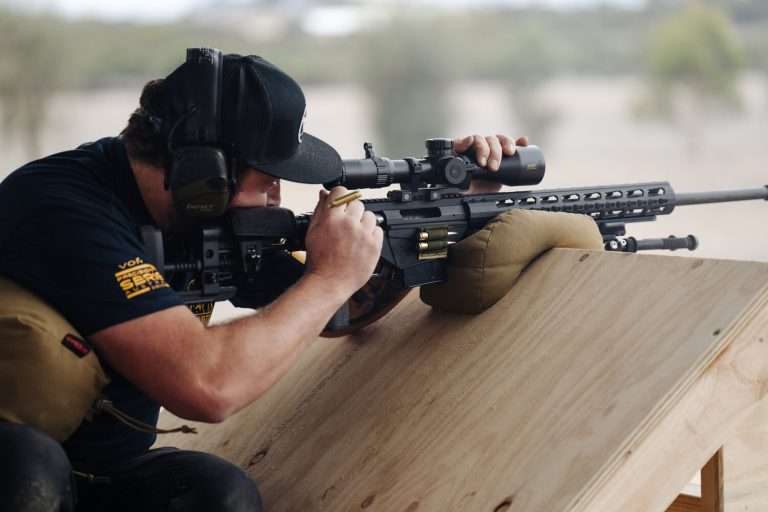
Parallax adjustment is critical when shooting at long distances because this is when parallax becomes a major obstacle to your accuracy. Small imperfections really add up at distance.
Parallax at Varying Distances
Aside from extreme distances, parallax is also an issue at varying distances. And this is where it becomes an issue because you’d have to adjust the parallax every time you engage a target at a different distance.
Basic Parts of a Rifle Scope
Now let’s dive into the rifle scope’s basic parts for us to understand parallax better.
Ocular Lens
The ocular lens is the lens that’s nearest you and it’s where you look through when sighting your scope.
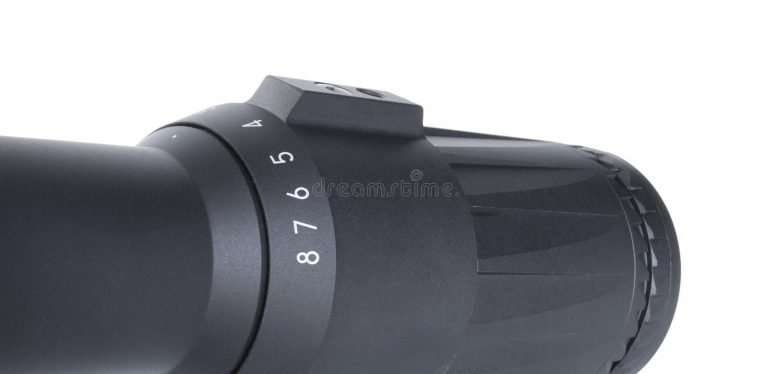
Magnifying Lens
The magnifying lens is what gets adjusted toward the objective lens to increase magnification and away from the objective lens to decrease magnification.
Erector Tube
The erector tube is located at the center of the scope. It houses the reticle and the magnifying lens.
Focus Lens
The focus lens is positioned near the objective lens. This is what gets adjusted to correct parallax.
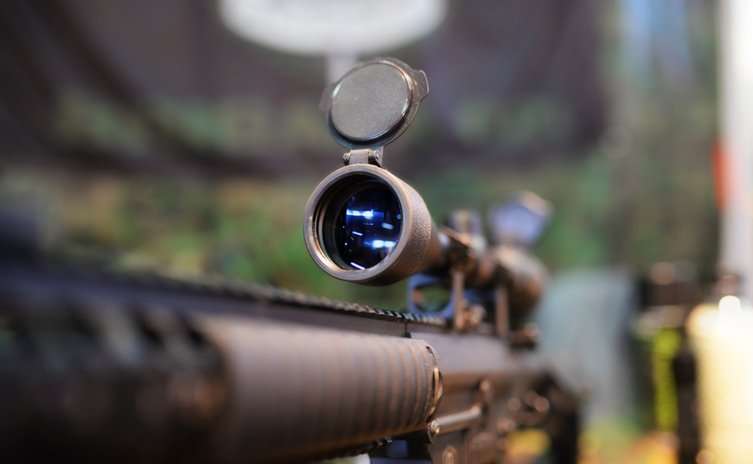
Objective Lens
![The Best Military Scopes Review [Updated 2019]](https://reloadyourgear.com/wp-content/uploads/2019/04/Military-Scope-768x508.png)
The objective lens is the one in front of the riflescope. It’s responsible for gathering light into the scope and transmitting it to the ocular lens. An objective lens with a large diameter gathers more light, resulting in brighter and clearer images.
Parallax can be corrected in two different ways depending on your scope, one is via side focus, next is via an adjustable objective. We’ll get into that in a little bit.
How to Make Rifle Scope Parallax Adjustments
Now that you fully understand rifle scope parallax, you’re ready to make parallax adjustments, and we listed the steps to guide you below.
Step 1: Bring your scope into focus
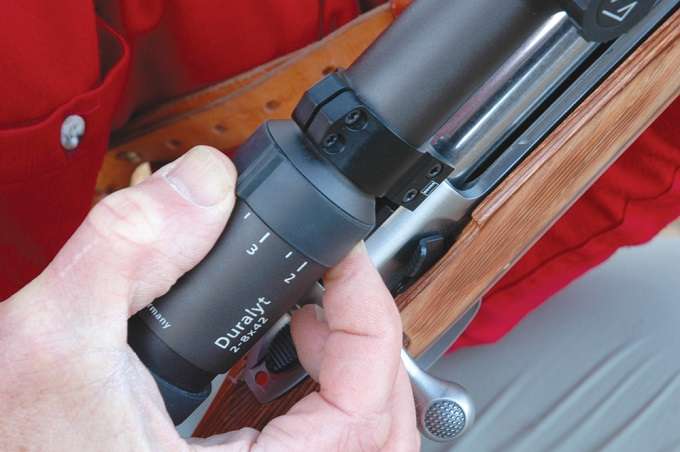
If you’ll be using your scope for the first time, the first thing to do is to focus your eyepiece. The eyepiece or the ocular focus is an adjustable ring that houses the ocular lens.
To focus your eyepiece properly, look at a blank space, like the sky, for example, to prevent your brain from focusing on the target and correcting it for your eyes. Instead, your eyes should focus solely on the reticle. While doing this, adjust your eyepiece until the reticle comes into sharp and clear focus. Once you’re satisfied with the clarity, lock the eyepiece so you won’t have to adjust it again.
Step 2: Learn about your scope’s parallax adjustment features
Like we mentioned earlier, parallax can be corrected either by side focus or by an adjustable objective.
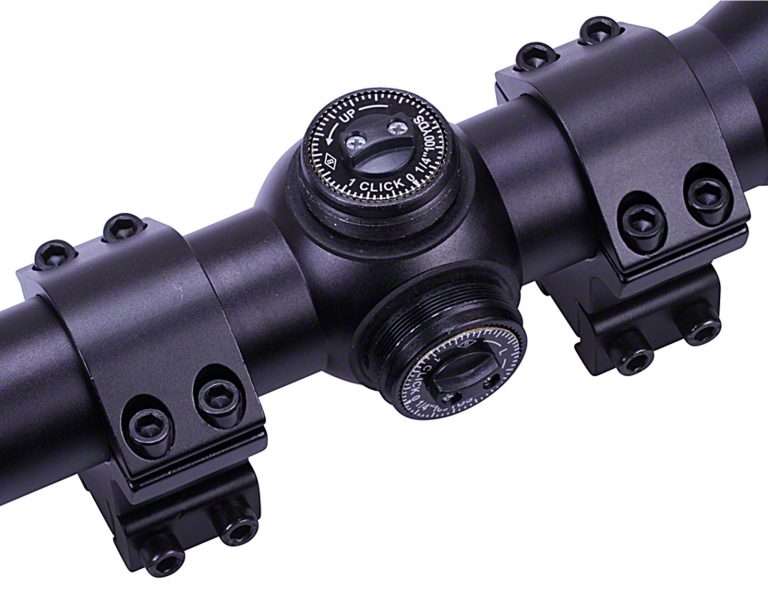
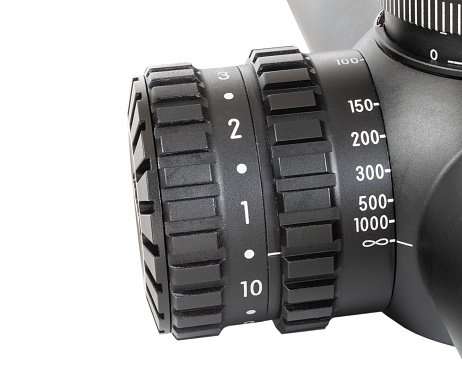
With side focus adjustment, the focus lens is moved towards or away from the objective lens to correct parallax. Side focus adjustment knobs are referred to as third turrets and usually have distance markings on them.
With adjustable objectives, it’s the objective lens that gets adjusted towards or away from the image.
Both side focus and adjustable objectives are great for parallax adjustments. But they also have disadvantages. To compare them, let’s take a look at the pros and cons of using them below.
Side Focus
Pros
- No need to leave the sight picture when adjusting
- Easy to adjust
- Helps in wind reading at certain scenarios and conditions
- Easily visible reference markings for most brands
Cons
- It’s not as fine-tuned as adjustable objectives so you’d have to repeat the whole adjustment process once you turn too much
- It’s a little time-consuming to adjust
- Side focus knobs are prone to damage
Adjustable Objectives (AO)
Pros
- You can make any parallax adjustments allowed by your scope
- It allows finer adjustments compared to side focus knobs
- It’s less prone to physical damage because there’s no exposed turret
Cons
- Scopes with adjustable objectives cost more
- Scopes with adjustable objectives weigh more and are usually top-heavy if the objective has a large diameter
- It sometimes requires leaving the sight picture to adjust
- Reference markings aren’t easily visible most of the time
Step 3: Make the adjustments
Now let’s make adjustments. The first thing you need to do is set the parallax knob to infinity, then aim your rifle at your target. Get a clear sight picture then turn the parallax adjustment knobs until the reticle is crisp and clear.
Step 4: Check
Now remove your cheek from the stock while still looking through your optic. Then move your eyeballs in a circular motion. If the reticles move off your target while you’re doing this, make the adjustments again. Repeat steps 3 and 4 until the reticle remains crisp and in place even while your eyes or head move a little.
Step 5: Lock your adjustment settings
Last but not least, lock your adjustment settings so you won’t have to correct parallax on your scope every time you shoot if you’re at the range. You should only be doing parallax adjustments if your rifle got dropped hard, if someone borrowed it, or if your target distance changes dramatically.
Final Thoughts
If you’re planning to splurge on a rifle scope, why not get one with parallax adjustment as well? It’s a feature that’s worth investing in, similar to a scope’s glass quality.
You can check this article out if you want to take a look at rifle scopes with parallax adjustment features.