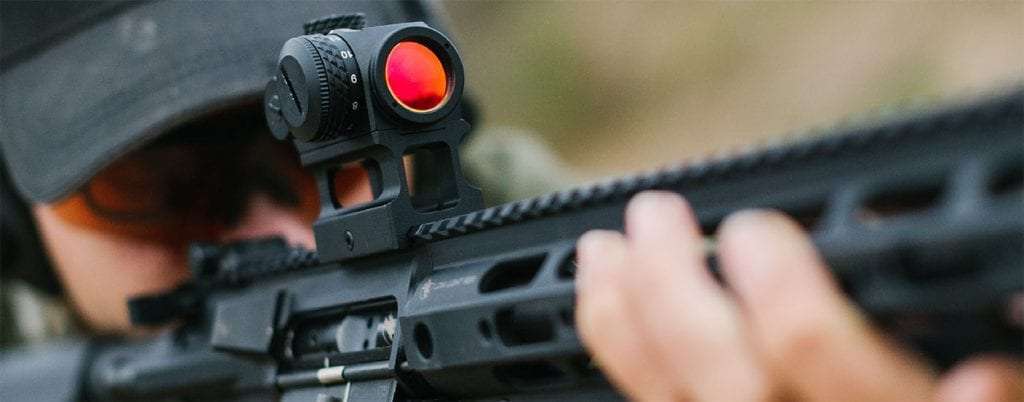
Before reaching sniper level 99+, you have to know how to adjust your red dot sight first! 😛
After buying a quality red dot and mounting it correctly, sighting in your optic is a critical step to shoot accurately. And, doing it quickly will save you money on ammo and leave more time to practice shooting.
Once you learn how, it will be useful whether you’re turkey hunting or are into competitive shooting.
Table of Contents
- Red Dot Scope Vs. Red Dot Sight
- What is “Zero?”
- How to Sight In a Red Dot
- Tools to Zero a Red Dot
- Types of Red Dots
- How to Sight In a Red Dot Scope Without Shooting?
- How to Sight in a Red Dot Scope on a Shotgun for Turkey Hunting?
- How to Sight In a Red Dot on a Pistol?
- How to Zero Out a Red Dot Sight on a Pellet Gun?
- Advanced Topics: Should you use a bench?
- Tips When Using a Red Dot Optic
Red Dot Scope Vs. Red Dot Sight
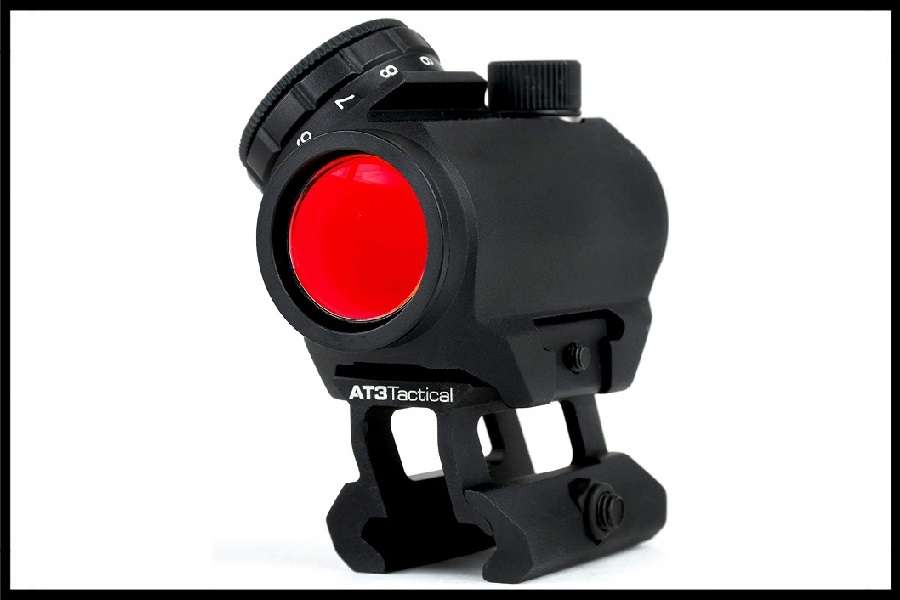
A red dot optic is the part of the firearm that helps you aim and shoot accurately with the help of the red dots placed on your target.
There are two types; the red dot scope and the red dot sight. The process for zeroing in is similar. The only difference is that the scope has magnifying properties while the sight does not.
What is “Zero?”
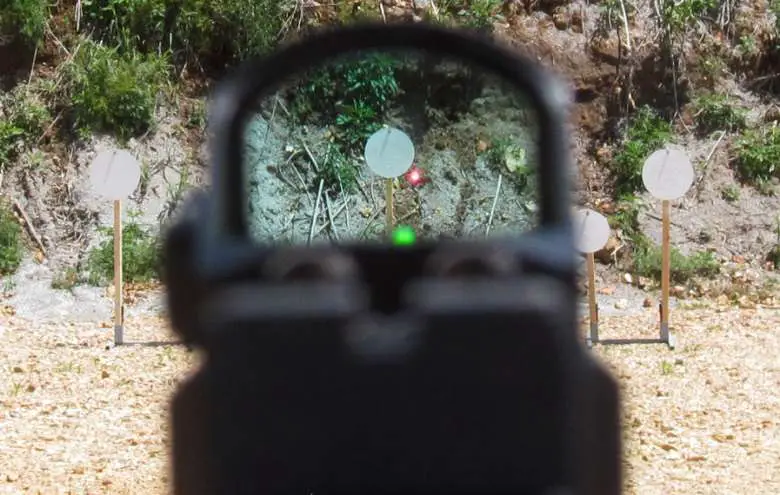
To “zero” means to adjust your red dot sight so you can hit your target at the exact spot that you aim. Any errors you make when zeroing in your gun will add to every shot you make afterward.
So, it’s a critical skill to master as a foundation for accurate shooting.
How to Sight In a Red Dot
Step 1: Determine Your Starting Range

Determine your starting position before you start aiming. Keep in mind that the distance for zeroing in depends on your firearm. The ideal distance for ‘sighting in’ is 15 yards for pistols and 50-100 yards for rifles.
Step 2: (Optional) Boresight Your Weapon to Get the Aim Close
After deciding on your starting range, you can boresight your weapon to have more accurate initial shots using a variety of tools. Here’s one of the best:
- Guaranteed superior accuracy with a lifetime warranty
- Fits all calibers from .22 to .50 cal. plus 20 & 12 ga. Shotguns
- Class IIIa Laser Product, less than 5.0mW power output
But, optical boresighting will get you pretty close in most rifles. The video below will show you how to do it.
If you want more details, see the section below for methods and tools.
Step 3: Fire Your First Group
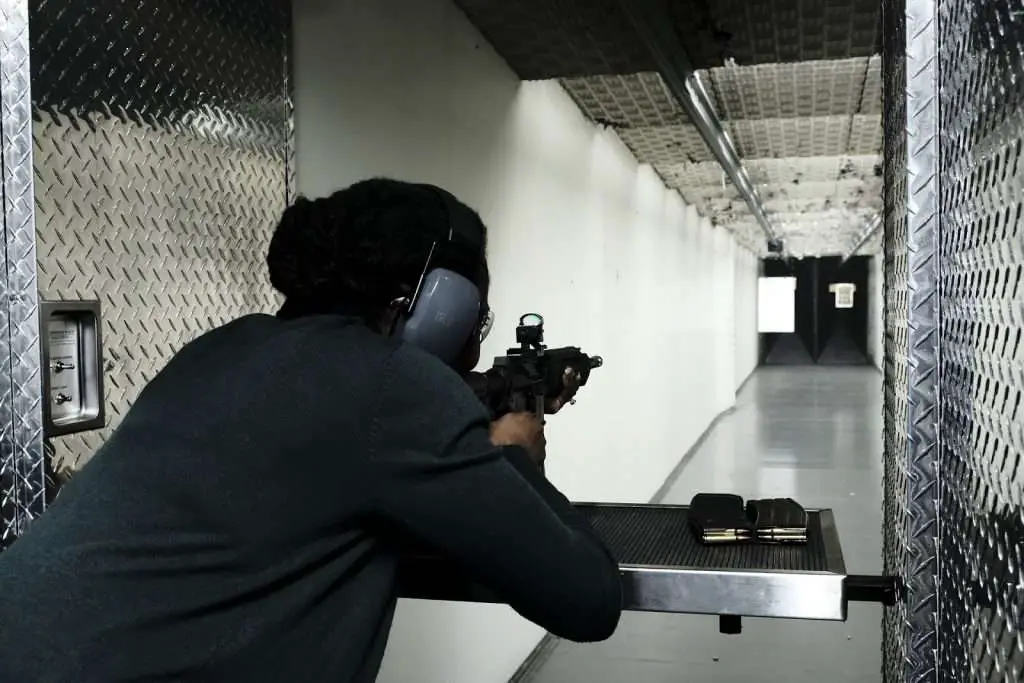
So you’ve picked your starting position. You’re also done boresighting your weapon. The next step is to fire a few rounds at your target.
You can use a shooting bench for more stability. This method is called Supported Sighting In. Check out the section below for more details.
Step 4: Adjust the Red Dot Sight so the Center of the Group Matches the Point of Aim
After firing, check where the bullet marks are. If you missed the bull’s eye, adjust your red dot relative to the bullet impacts. Turn your red dot’s windage and elevation knobs until it matches the point of impact.
The windage knob adjusts your sight horizontally, while the elevation knob moves it vertically.
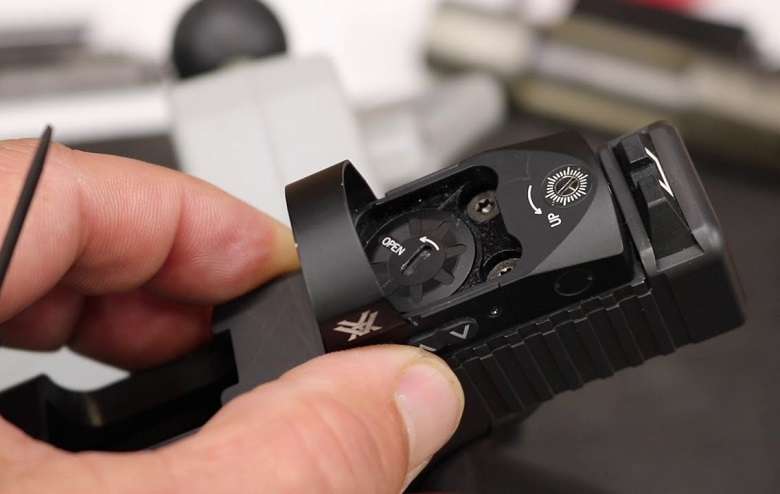
For example, if your bullets struck right above your target’s center, then adjust your red dot up to match the hit point using the elevation knob. That will effectively cause you to aim lower when aiming for the center of the target. Of course, you’ll likely need to adjust both elevation and windage settings for a more accurate result.
Step 5: Repeat Until Satisfied with the Accuracy
After making adjustments, fire three to five rounds again to check if most of your bullets struck near the target. If you did it correctly, then you’re done! If not, adjust your red dot again and repeat steps 3 and 4.
You may find yourself missing your target after several attempts. If this happens, move closer to your target then do steps 2 to 4. Repeat those until you get your desired accuracy.
That’s it! If you follow those steps to a “t” and use a good rest, you’ll be shooting tighter groups in less time!
Tools to Zero a Red Dot
Shooting Bench
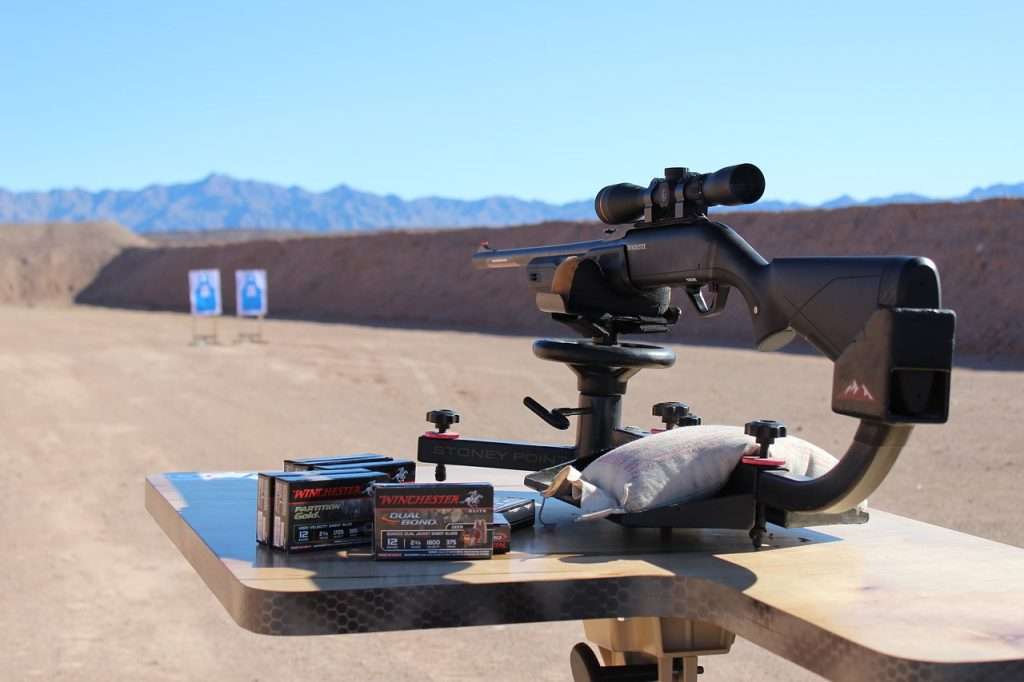
As mentioned earlier, most shooters use a bench rest for a more effective zeroing-in. This process is called supported sighting in. The bench serves as stable support to help stabilize the shooter and the weapon.
- SPECS: Weatherproof tabletop is 34” W x 23” L and weighs 30 pounds and the allweather seat is 17” in height with a total weight limit of 250 pounds
- EASE OF USE: Table unfolds to setup and the ambidextrous seat pivots around the rear table leg for maximum shooting comfort
- VERSATILITY: The entire table can be adjusted to accommodate left or right handed shooters
- SPECS: The highly durable, weatherproof tabletop is 34” x 23” and the allweather seat adjusts from 16”-22” in height with a weight limit of 275 pounds
- EASE OF USE: Table features a quick-release pin for easy seat height adjustment, an adjustable leg angle for use on uneven terrain and all movements can be locked to ensure a secure shooting bench
- VERSATILITY: Two cleaning forks (included) fit into the carrying handles of the benchtop and the holes on the legs allow for stakes or anchors (not included) to be inserted for increased stability
Boresighter
Boresighting is another reliable ‘zeroing in’ technique. It involves aligning the scope reticle with your gun barrel’s true center (bore axis). This method allows you to sight in without wasting precious ammunition.
And with the current ammunition prices, you don’t have to save many shots to pay for one of these tools many times over!
Three types of Boresighter tools:
You can boresight a weapon using three methods;
1. Laser Boresighter

The first type of boresight projects a dot on the target through a laser diode. This allows you to easily align your sight’s dot or crosshairs with your target. It works similarly to a laser pointer and is the most popular type of boresighting tool.
Most experienced shooters recommend boresighters because of their efficiency and ease of use.
Most importantly, this tool has minimal parallax, so you can adjust your gun without displacing its alignment.
- ✹[Aluminum Material+ Exquisite Workmanship] Using high-end aluminum alloy with exquisite workmanship to create a smoothly frosted metal surface
- ✹[30 Adapters Fit For More Models]Containing 30 adapters, Owlshoot Green bore sighting laser with multiple caliber can perfectly fit any .17-.78 caliber, rifles, pistols, handguns shotgun and scope....
- ✹[High Power Laser Beam + Precise Accuracy ] it projects a strong Green laser sight , enables you to target clearly and accurately in any weather condition even in intense sunlight or low visibility...
- [16 Adapters Fit for .17-12GA Calibers]: Upgraded 16 bore adapters in set, the laser bore sight can be applied to all .17- 12GA calibers.The adapters are engraved with clearly visible serial numbers...
- [Specially Designed Arbor to Improve Stability]: Equipped with arbor for .54-12GA calibers allows the boresighter to fit barrels perfectly, providing higher stability and accuracy.
- [High Accuracy]: The laser bore sight kit multiple caliber emits a straight red laser beam, providing a precise reference for zeroing in on your optics. Brightness Enhancement: Max Output Power: less...
2. Optical Boresighter
The optical boresighter works like its laser counterpart, but without the laser diode.
This tool gets installed at the tip of the gun barrel. You can see the red dot through the lens grid. Then adjust the crosshairs to align your target with your sight.
If it sounds like a solution you’d like to try, the XAegis Boresighter has over 1700 reviews and a 4/5 rating.
- [16 Adapters Fit for .17-12GA Calibers]: Upgraded 16 bore adapters in set, the laser bore sight can be applied to all .17- 12GA calibers.The adapters are engraved with clearly visible serial numbers...
- [Specially Designed Arbor to Improve Stability]: Equipped with arbor for .54-12GA calibers allows the boresighter to fit barrels perfectly, providing higher stability and accuracy.
- [High Accuracy]: The laser bore sight kit multiple caliber emits a straight red laser beam, providing a precise reference for zeroing in on your optics. Brightness Enhancement: Max Output Power: less...
- ✹[Aluminum Material+ Exquisite Workmanship] Using high-end aluminum alloy with exquisite workmanship to create a smoothly frosted metal surface
- ✹[30 Adapters Fit For More Models]Containing 30 adapters, Owlshoot Green bore sighting laser with multiple caliber can perfectly fit any .17-.78 caliber, rifles, pistols, handguns shotgun and scope....
- ✹[High Power Laser Beam + Precise Accuracy ] it projects a strong Green laser sight , enables you to target clearly and accurately in any weather condition even in intense sunlight or low visibility...
3. Visual Boresighting
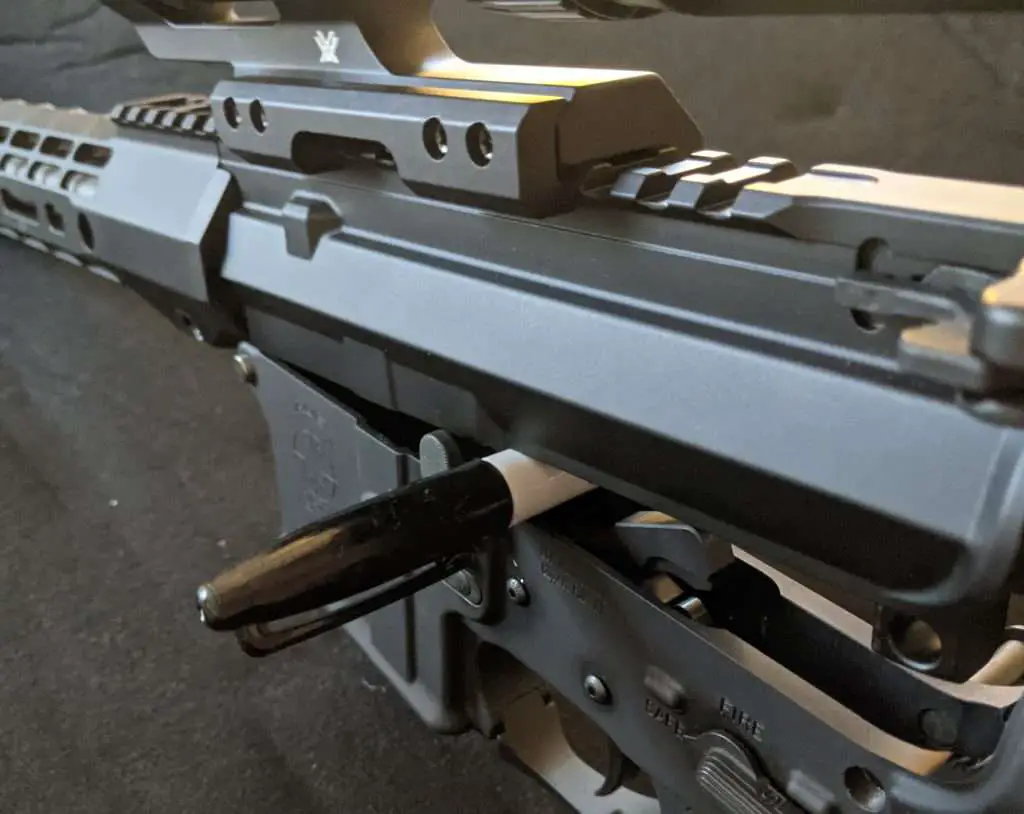
Visual boresighting is also called “eyeballing” your sight. It involves the use of your naked eye to align your gun’s bore axis with its sights.
With this technique, the process depends on the firearm you are using. In ARs, for instance, you can get a clear line of sight through the barrel by dropping the upper receiver and removing the bolt carrier group.
The method is the same with bolt action rifles, except you won’t be able to remove the receiver. But you can still get a clear view of your target through the barrel by removing the bolt.
These methods aren’t only applicable on red dot sights but also on red dot scopes. We put together a step-by-step guide on how to sight in a red dot scope without shooting, so check it out.
Types of Red Dots
You can install red dots on different kinds of firearms. So you can use them whether you’re going tactical shooting or turkey hunting. Here are two types of red dots available on the market.
Standard Rifle Optics
![The Best Red Dot Sights [Updated 2019]](https://reloadyourgear.com/wp-content/uploads/2019/04/Best-Red-Dot-Sights.jpg)
Most optics these days are manufactured for full-sized firearms and are tube-like. They also come in 2 to 3 MOA red dots and a 25mm lens.
Standard rifle optics are typically used at close-range. But you have the option to add a magnifier or night vision optics so you can shoot at long distances.
Miniature Red Dots
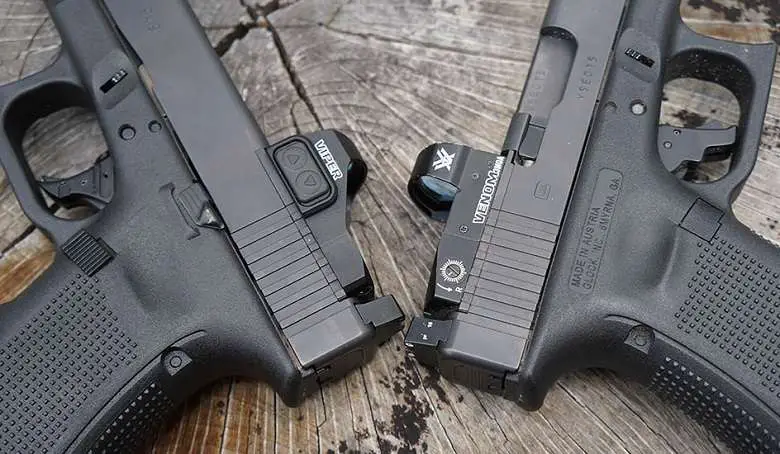
Miniature red dots, as the name implies, are tiny. These low profile red dot sights are usually mounted on pistol sights. They are also used as backup sights for standard rifle optics.
- [The RXS-100] is the new market leader in price and performance. Class leading value starts with multi-platform versatility with its DeltaPoint Pro mounting pattern, daylight bright 4 MOA dot with 8...
- [REFLEX SIGHT] RXS-100 has a clear 4 MOA dot with 8 brightness settings
- [ADDITIONAL FEATURES] Detented windage/elevation, top loading battery for easy replacement, mounts on an array of pistols, MSRs, and shotguns.
- SIG SAUER RED DOT SIGHT - The fastest, most accurate, ultra-compact micro reflex sight, the ROMEOZero 1x24mm pistol sight has been optimized for everyday concealed carry and pistols with slim slide...
- RUGGED & DURABLE - This red dot sight features the SpectraCoat HD Polymer Lens with 10 times the impact resistance over traditional glass lenses; Rugged WeaponsGrade textured polymer body gives this...
- HIGH PERFORMANCE - MOTAC (Motion Activated Illumination System) powers up when it senses motion and powers down when it does not; Highly efficient, point source LED emitter provides a crisp dot that...
How to Sight In a Red Dot Scope Without Shooting?
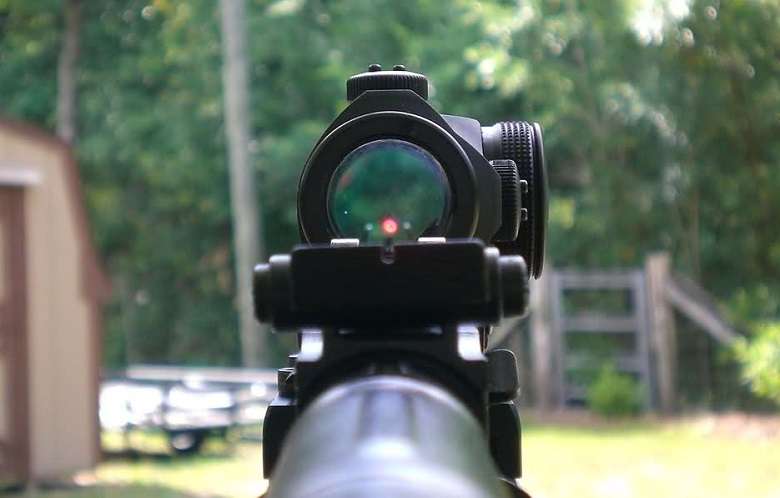
It can be difficult to achieve your target’s center after sighting in without shooting, but it is possible. Below are the steps you can follow.
- Decide on your starting point. Position yourself at least 50 yards from your target if you’re using a rifle, and at least 15 yards if you’re using a pistol.
- Boresight your weapon using the tools we mentioned above (laser, optical, or visual boresighting).
The results won’t be as precise as if you were shooting to confirm the adjustments, but they’ll let you hit steel plates at close ranges.
How to Sight in a Red Dot Scope on a Shotgun for Turkey Hunting?
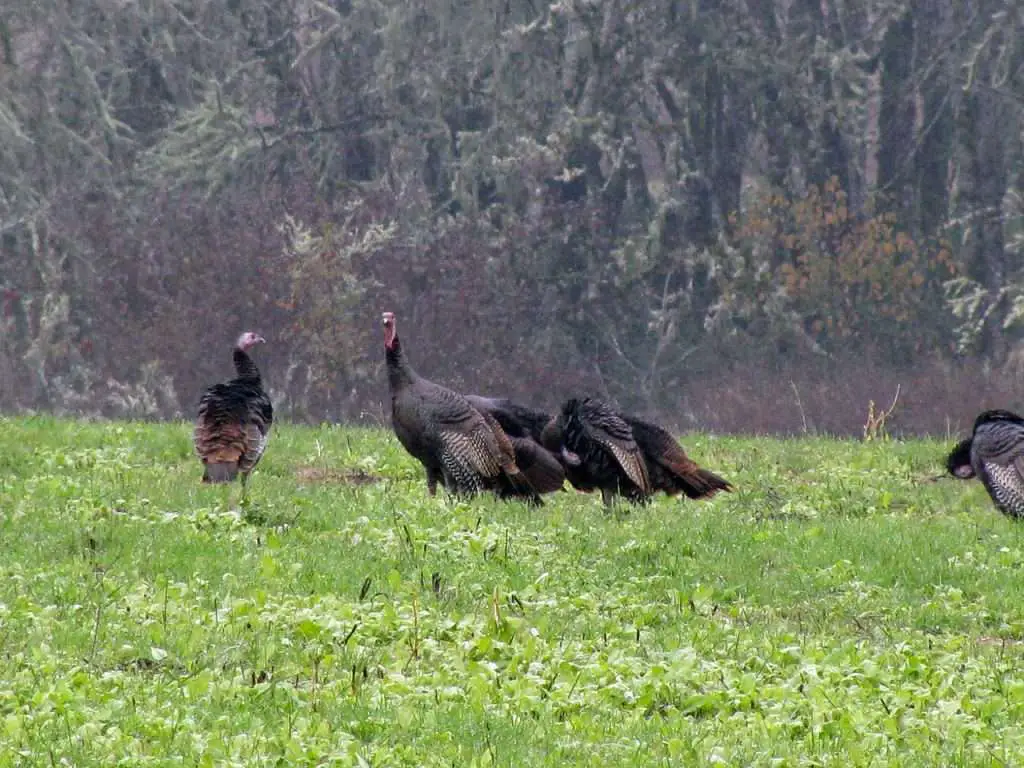
The steps to sight in a red dot for turkey hunting are very similar to a rifle or a pistol. The only difference is that there are multiple points of impact instead of a single bullet.
- Shotguns are loud. So wear ear muffs and shooting glasses for your protection.
- Set up 30-45 yards from your target.
- Fire a single round into the target.
- Inspect the target and find the densest part of the pattern of holes in the paper. This point will be your “aim point” like a single hole would be for a rifle.
- Adjust your reticle based on where the center of the pattern is.
- Fire again, then make adjustments until most of your bullets strike at or near the bull’s eye.
How to Sight In a Red Dot on a Pistol?
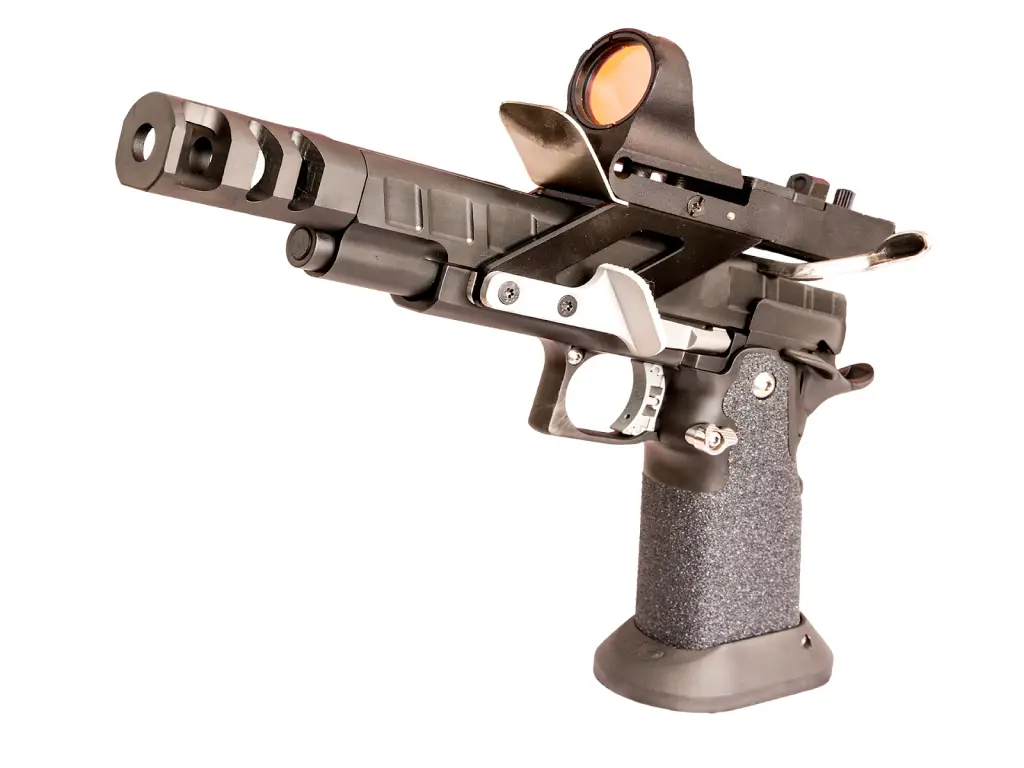
The process to sight in a red dot on a pistol is the same as with a rifle. The only difference is the distance. Here’s how.
- The ideal sighting in distance for pistols is 10-15 yards. So, position yourself at that range.
- Fire three to five rounds, then check how far from the bull’s eye your bullet marks are.
- Adjust your red dot to move to the center of your group.
- Fire another group to check your adjustments.
- Repeat until you are satisfied with the accuracy.
How to Zero Out a Red Dot Sight on a Pellet Gun?
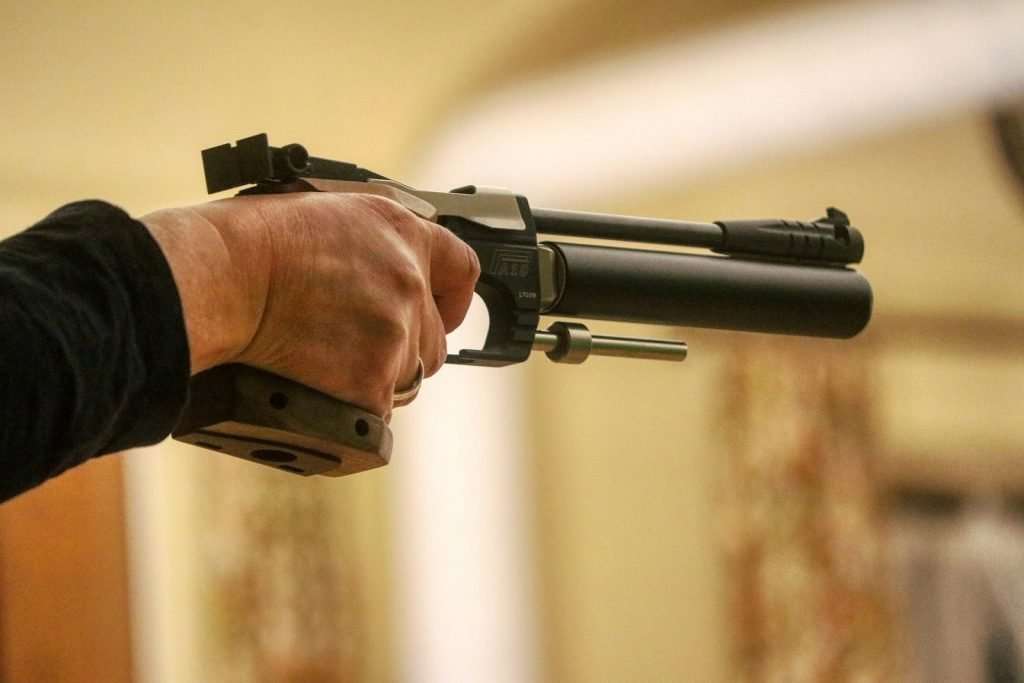
If you want to use a red dot for your pellet gun, make sure to buy one that’s compatible with yours. Then when you’re ready, follow the steps below.
- Set up your starting range at least 15 yards from your target.
- Mount your gun on a flat surface and support it with a bench rest if you choose to use one.
- Aim your weapon. Fire three to five rounds, then review the center of the group.
- Adjust the windage and elevation knobs on your red dot sight based on where your pellets struck. Make sure the gun doesn’t move while doing the adjustments.
- Repeat steps 2 to 4 until you get your desired accuracy. If it doesn’t work after a few attempts, move closer to the target and try again.
Advanced Topics: Should you use a bench?
Supported Sighting In
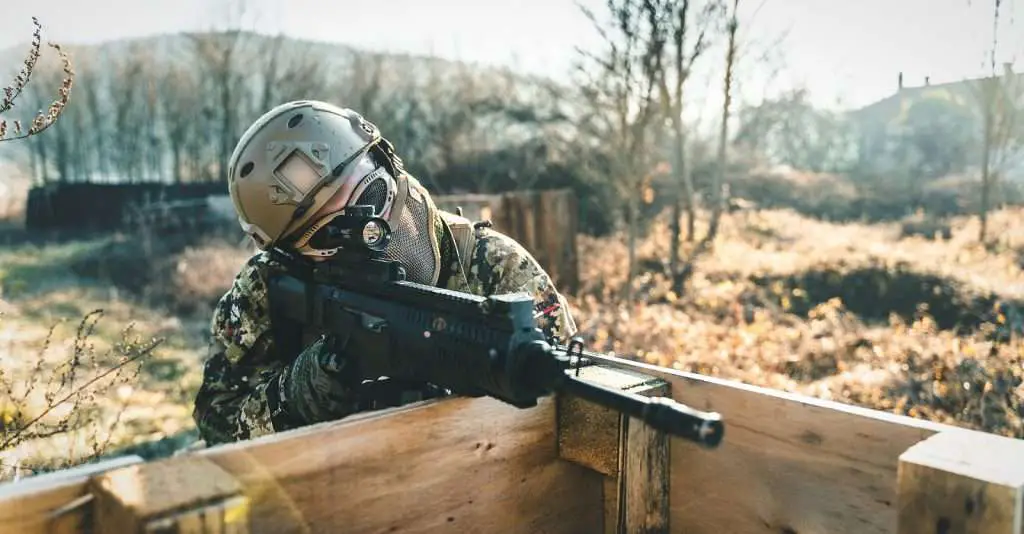
As mentioned earlier, Supported Sighting In involves the use of a bench rest to assist in zeroing in. This method allows less room for human error because the movement is minimal. This technique is for you if you’re a beginner.
Unsupported Sighting In
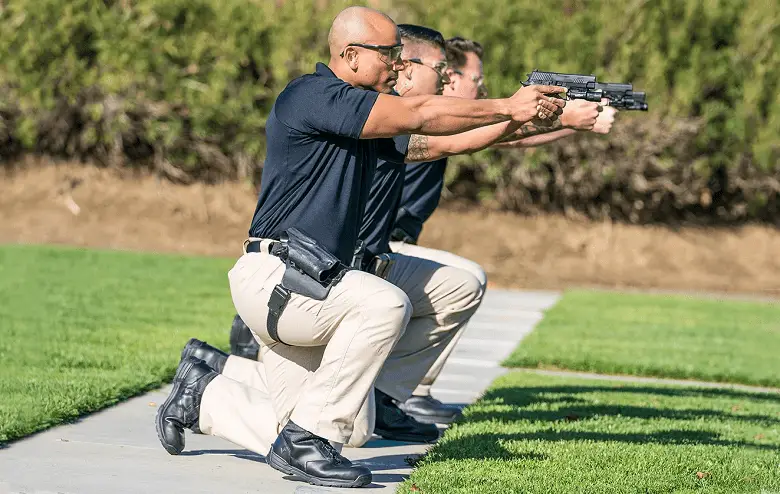
Some experienced shooters, on the other hand, prefer to sight in unsupported. This allows them to shoot exactly as they will in a competition or on the range.
Tips When Using a Red Dot Optic
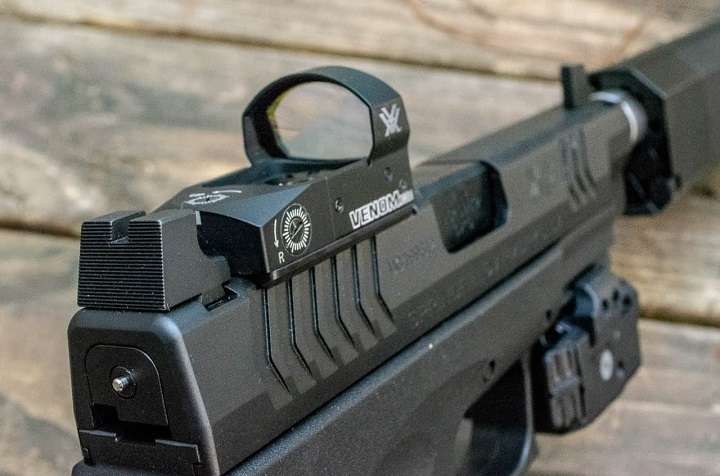
Here are a few tips for beginners when sighting in using a red dot optic:
- Focus on your target.
- Make sure your cheek is touching your firearm.
- Avoid moving your head and your firearm, especially while adjusting your optic.
- Wear eye and ear protection.
Now that you know how to sight one in, you’re ready for our best red dot articles:
Last update on 2024-04-25 / Images from Amazon Product API


