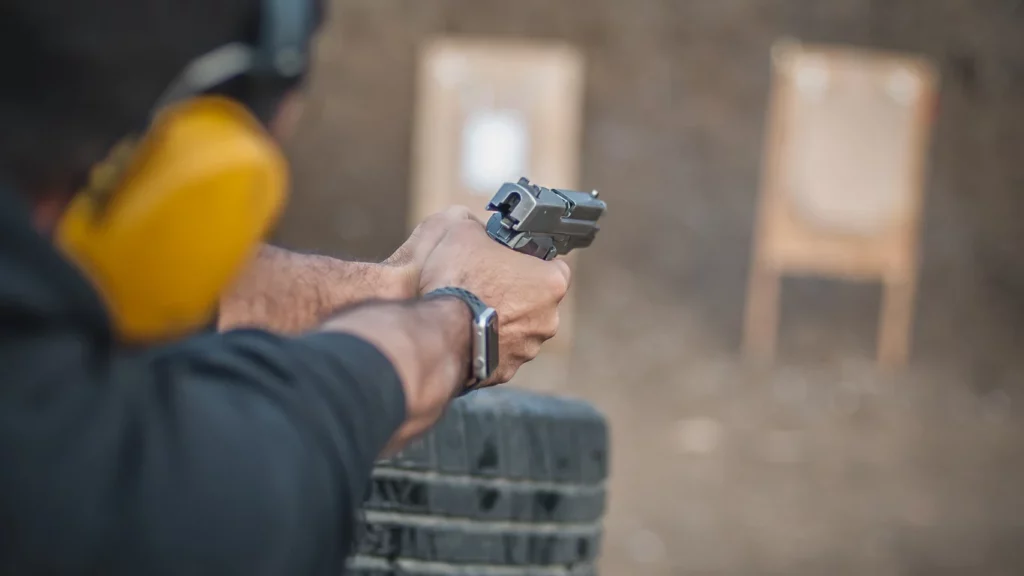
Even if you have the hardest-kicking ammo, the most powerful gun, and the best red dot, but you don’t know how to shoot a pistol well, you ain’t getting anywhere. Here are things to remember every time you shoot.
How to Shoot a Pistol Well
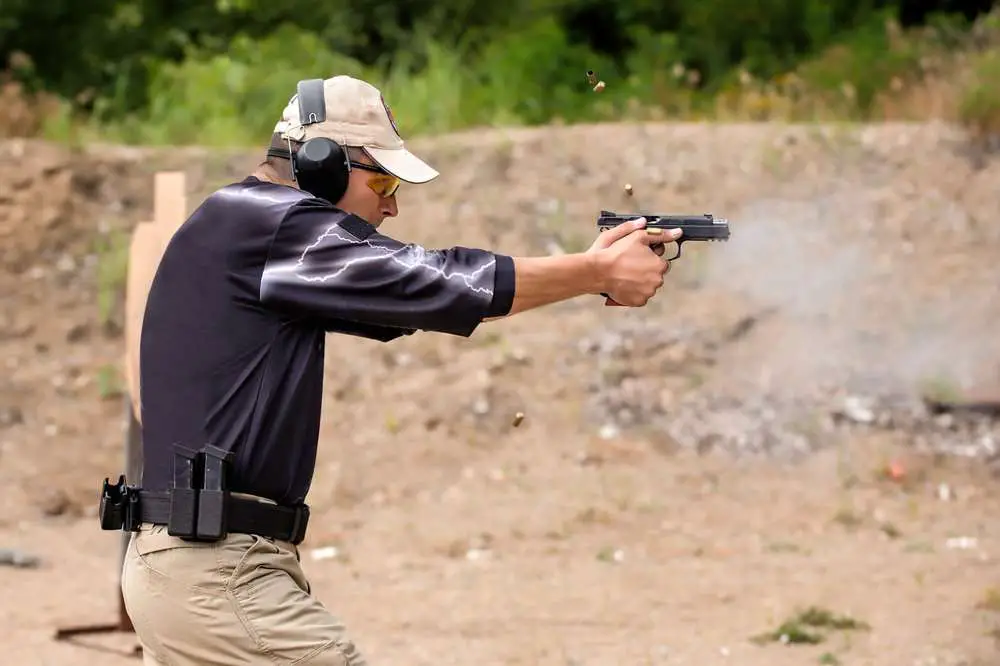
Shooting Stance
Get in a steady position with your weight forward. Make sure your stance helps you manage recoil. You can use either of these three stances.
Isosceles Stance
The Isosceles Stance is a shooting technique that looks like, you guessed it right, an isosceles triangle when viewed from the top.
In an isosceles stance, you hold your gun with both hands, both arms held straight, with the shooting hand holding the pistol and the support hand is wrapped around the dominant hand.
It’s gained in popularity in recent years, supplanting the Weaver in many agencies and circles.
Weaver Stance
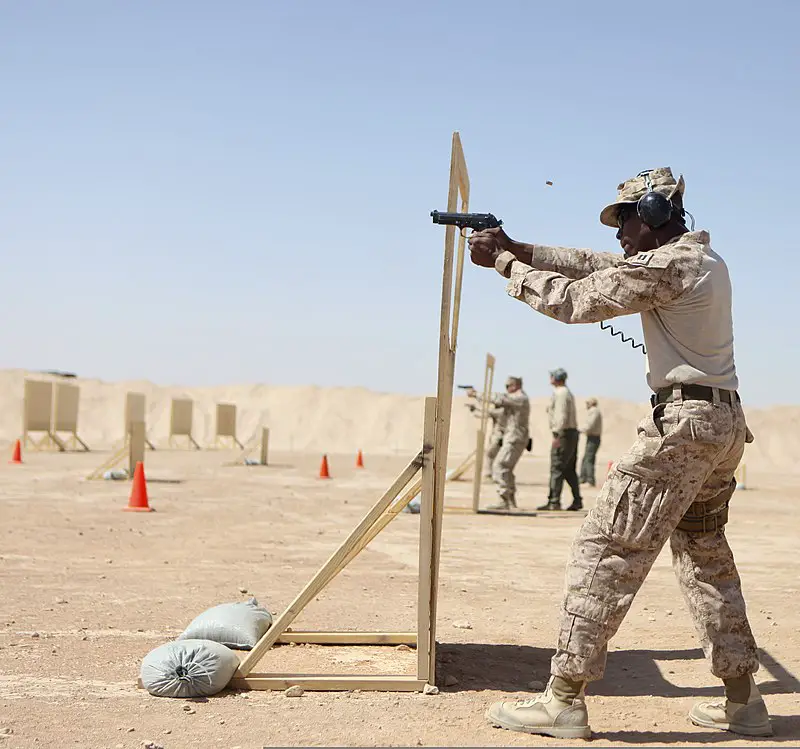
Similar to the Isosceles stance, the Weaver stance involves holding your pistol with the dominant hand (for pushing forward) with the support hand wrapped around it while exerting rearward pressure on the gun. In this technique, the elbow in the dominant arm is slightly bent while the other arm is bent straight down.
The foot opposite the shooting arm is positioned ahead with the knee bent slightly and the other leg almost straight. Your torso should lean forward at the hips, with your shoulders directed toward the forward foot. The rear foot helps in rapid position changes and catching recoil.

This stance also regulates muzzle flip when firing and results in faster follow-up shots.
Chapman Stance
The Chapman stance is also called Modified Weaver. That’s because the former is almost the same as the latter except the shooting arm is fully extended, sometimes resulting in a cheek weld.
Grip
Your grip plays a big role in managing recoil and letting the gun function as designed. You should have a firm but not strained hold of your pistol. Your wrist and pistol should be aligned straight, with your hand on the grip as high as possible but not in the slide’s way. Keeping your pistol-arm alignment straight can be a little uncomfortable at first, but you’ll get used to it eventually. An improper grip can lead to a limp wrist – a shooting condition that causes jams and malfunctions.
If you don’t have a firm grip, the slide can’t completely recoil and eject the case of the cartridge correctly. And, it may have trouble loading the next bullet too.
Most malfunctions that are unique to the shooter are problems with grip, either insufficiently firm or somehow interfering with the function of the gun (like a finger on the slide).
The gif below show a “stovepipe” resulting from a really loose grip.
This was actually pretty tough to recreate for a demonstration, requiring a really loose grip, wrist, and holding the gun too low so that the abbreviated “beaver tail” at the back of the gun isn’t bearing on the hand after firing. It shows the importance of keeping a high, firm grip on the gun not just for quicker follow-up shots but also for the chance to follow-up at all!
Sight Picture
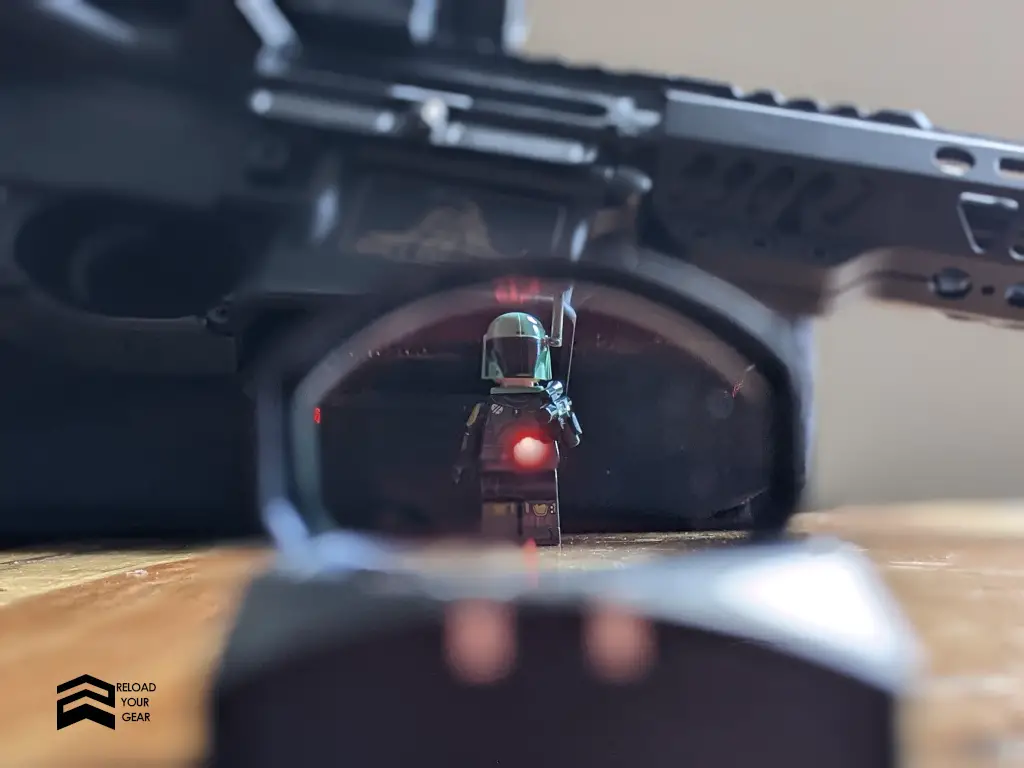
Aiming takes more than just pointing your gun at the target. It also means you have to know your optics well and that it’s sighted in properly. Mounting a high-quality optic on your pistol that lets you easily shoot with both eyes open is also a great advantage.
The downside of a stance like the Chapman is that the position of the head can often impede peripheral vision.
Breathing
Breathing does a lot to help you focus, so take deep breaths and relax before every shot. You don’t have to count your breaths or plan when to take them, breathing naturally is more effective.
Trigger Squeeze
Trigger control is crucial because pulling it too hard or in the wrong direction will affect your aim and the sight picture. So it’s important to focus on applying pressure rearward in a smooth action, regardless if you do it fast or slow.
This part is really easy to practice at home with dry fire training.
Trigger Reset
After every shot, make sure not to release the trigger too quickly or make big, unnecessary movements. To do a proper trigger reset after firing, keep holding the trigger and release it only until you feel or hear the reset click for quicker follow-up shots.
Other Methods that Help Improve Shooting with a Pistol
Dry-Firing Practice
Dry firing is shooting your pistol without live ammunition and using dummy rounds or snap caps instead. Dry firing is an effective method to improve trigger control and get used to the trigger’s weight and pull. Here are two of our favorite dry firing gear:


It’s also a safe way to practice shooting at home. Make sure to practice every safety measure as you would when at the range; such as:
- Only put your finger on the trigger when you’re ready to shoot.
- Don’t point your pistol at anything you don’t want to shoot.
- Always act as if your gun is loaded with live ammo.
- Before “shooting”, always check if the area behind your target is clear.
You can also do some dry firing at the range before shooting live rounds too. For practically all modern firearms, there’s no risk of damaging your firearm during dry firing.
Range Practice
Of course, another effective way to improve your shooting skills is by practicing at the range.
If this is your first time, you can start off at 10 yards, sight in your optic, fire a few shots, then check your groups. Adjust your optic or sights and then fire again. Your dry firing practice will play a big role here because you’re already familiar with the trigger weight.
Although you’d have to spend real ammo unlike when dry firing, this method gets you ready for real-life situations such as managing recoil and analyzing the groups you shot. If the holes are all over the target, you might have an inconsistent form that needs to be corrected.
If that’s the case, be sure to check out our section on fixing your flaws below.
We’re sure you’ll also encounter other problems as you practice, we’ve listed some below and how to troubleshoot them so keep reading!
Shooting Gear
Once you’ve polished your shooting skills, investing in high-quality shooting equipment is the final step to increasing your accuracy and improving your overall performance.
Here are a few shooting aids that will optimize your training at home.
MantisX Shooting Performance System
The MantisX is a device attached to your firearm’s accessory rail that collects data while you’re shooting and analyzes it real-time so you know which areas need improvement. You can check your progress through the MantisX smartphone app that you need to install upon purchasing the device.
Aside from rifles, handguns, and shotguns, the MantisX can be used for dry firing and archery practice.
Blackbeard AR Trigger-Resetting System
The Blackbeard is a shooting training tool that’s tailored for AR users. It consists of two pieces of equipment – one that replaces your BCG and charging handle, and one that replaces your magazine. The Blackbeard allows you to practice dry firing with your trigger’s actual weight, break, and reset. It also features a laser indicator that shows where your shots landed.
Troubleshooting: How to Fix Your Flaws
Before anything else, make sure that there’s no problem with your gun and your sights or optic is working properly.
Shooting Right
If you see most of your shots at the right side of the bullseye, this means that you’re putting too much finger on the trigger, therefore, pulling the shots to the right.
Shooting Low and to the Right
If most (if not all) of your shots landed at the bottom left part of your target (or right if you’re left-handed), this means you’re pulling the trigger too quickly after every shot and you’re forcing the barrel to drop when the shot goes off.
Shooting Left
Holes to the left of the bullseye happen when the shooter puts too little finger on the trigger, pushing the trigger back and to the left and therefore pushing the shots to the left.
Shooting Erratically
This happens when your grip is a bit too loose. As you pull the trigger, the fingers on the pistol grip move with it, sending your shots away from your target. This makes it nearly impossible to produce consistent accuracy.
To fix this, grip the pistol harder to isolate the movement of the trigger finger from the rest of your hand. You can practice a firmer grip using a hand strengthener.
- Comfortable and Durable: The grip handle is ergonomically designed and wrapped in a soft material to make your workouts more comfortable and safe
- ADJUSTABLE RESISTANCE: According to the needs of exercise, you can adjust the grip force in the range of 5kg-60kg (11-110 Lbs), which is very suitable for men and women who want to exercise grip...

- 𝗘𝗿𝗴𝗼𝗻𝗼𝗺𝗶𝗰 𝗗𝗲𝘀𝗶𝗴𝗻 — Our hand grips feature a contoured shape that fits comfortably in your palms, reducing strain and fatigue during workouts....
- 𝗣𝗼𝗿𝘁𝗮𝗯𝗹𝗲 𝗮𝗻𝗱 𝗣𝗿𝗲𝗺𝗶𝘂𝗺 𝗠𝗮𝘁𝗲𝗿𝗶𝗮𝗹𝘀 — Designed for optimal comfort and performance, the FitBeast features a textured...
Bottomline
One last tip for the road: the best shooting position is one you’re most comfortable with. Most importantly, don’t forget to have fun! Keep safe and happy shooting!
Once you’ve mastered shooting a pistol well, you can hone your skills more using one of these reliable handguns:
- Best 300 Blackout Pistol
- Best Hammer-Fired 9mm
- Glock 26 vs Glock 43x
- Glock 22 vs 23
- Best Hammer-Fired Pistols
Last update on 2026-06-24 / Images from Amazon Product API